Connect using the Web browser
Sometimes it's difficult for a trainer to hold attendees' attention. Showtime can help you engage with your audience. Attendees can connect through a web browser or use the audience (Viewer) app to interact with you during your session from their mobile devices or laptops. They can see, hear, and follow along with you as you present, as well as "like" your slides, pose questions, answer polls, and provide feedback at the end of the session.
Attendees can show appreciation for a particular slide's content, animation, or delivery style by clicking the Heart symbol at the bottom right corner of their screens.
Audio and Video


Ways to connect through the audience app-
- With a web browser (Join link or attend.zoho.com).
- With a mobile device (Viewer app).
Connect with web browser for a face-to-face or remote session
There are two ways attendees can connect with a web browser:
- Clicking the Join link sent from email
- At attend.zoho.com
To register and join a session from the "Join" link:
Attendees will receive an email invitation to register for the session. When they click the registration link, they'll be directed to a page where they can view the presenter's name and the date, time, and topic of the session. If they wish to register, they will need to fill out the registration form and click Register Now.
If it's an ongoing session, they will be connected to it directly. If it's a session scheduled for later, they'll receive an email with a join link to follow on the scheduled date and time. From there, they'll click Enter Session.
To join a session via attend.zoho.com:
- Ask attendees to go to attend.zoho.com to connect to an ongoing or a scheduled session.
- They will be prompted to Enter a Key to join the session. The key is shown on the projected instruction screen and in the invitation email.
Following along with the presentation
Attendees can join as guests or sign in with their names and email addresses. They can follow along using their mobile devices or laptops instead of just staring at the projector.
The instruction screen is the first screen displayed. This screen gives the audience key and directions on different ways to connect to the session.
Once an attendee joins the session, they'll see details like the name of the presenter, the topic, date, time, and current status of the session.

View completed slides
Attendees can view the current slide and any that preceded it. No need to repeat yourself to latecomers; they'll be able to catch up on what they missed.
"Like" slides
Attendees can show appreciation for a particular slide's content, animation, or delivery style by clicking the Heart symbol at the bottom right corner of their screens.
Audio and Video
Voice and video are only available for remote sessions. If you have enabled these options, attendees will be able to hear and see you. They can also mute or enable either feed for their individual devices by clicking on the Microphone and Videoicons on the bottom-right corner of their screens.
Note: Audio and video are one-way feeds. Attendees cannot broadcast their own voice and video.
Screen share
Screen share is only available for remote sessions. When you choose to deliver a presentation via screen share, you can display an entire screen, an application, or a browser tab to your attendees.
If the session was started with a presentation, the view will return to it when screen share is stopped. Otherwise, attendees will see a "Nothing shared" screen but will still be able to hear and see you. You can also still conduct polls and answer questions that attendees pose.
Start a chat
Chat is only available for remote sessions. Attendees can click the Chat tab on the left side of the screen, enter a message in the text box, and press Enter or click Send. You'll see the chat conversation, along with the attendee's name and the time at which the message was sent.
Request for open mic
The Open mic feature is available only for remote session. With this feature, your attendees can voice their opinions.
Attendees can request access to speak during the session by clicking the Mic icon. Once mic access is approved, they will be able to voice their opinion. When attendees have muted themselves, you will see a Poke option corresponding to their name on the Attendee tab. Use this to prompt an attendee to talk.
To ask an attendee to talk, go to the Attendee tab, click the Mic button corresponding to the attendee name, and invite them to talk. Once the attendee accepts the request, they will be able to talk.
However, as a trainer, you can also allow your attendees to talk with each other at the same time.
To allow all attendees to talk at the same time time, click the Unmute All button in the Attendee tab. Your attendees will get a pop-up to accept open mic access on their screen. Once they accept the request, all your attendees can talk simultaneously during the session.
The trainer is able to mute and unmute mic access anytime during a session.
If the trainer mutes the mic permission for all the attendees, then each attendee who wants to voice their opinion can request open mic access from the trainer. Once the trainer accepts the request, the attendee can start to speak
Only one attendee can request open mic access. A trainer accepting a new open mic request will revoke the access given to the earlier attendee.
Ask questions
Now shy attendees can ask questions, too.To pose a question, they just select the Question tab from the right side of the screen and enter their question in the text box. Questions can be up- or down-voted by other attendees.
You will be notified about questions as soon as they're sent. You can choose to answer immediately ( projecting them to your audience) or save them for later. When the question is projected, the question status changes to Answered.
Note: In remote sessions, you will have the option to reply privately or publicly to attendees by text.
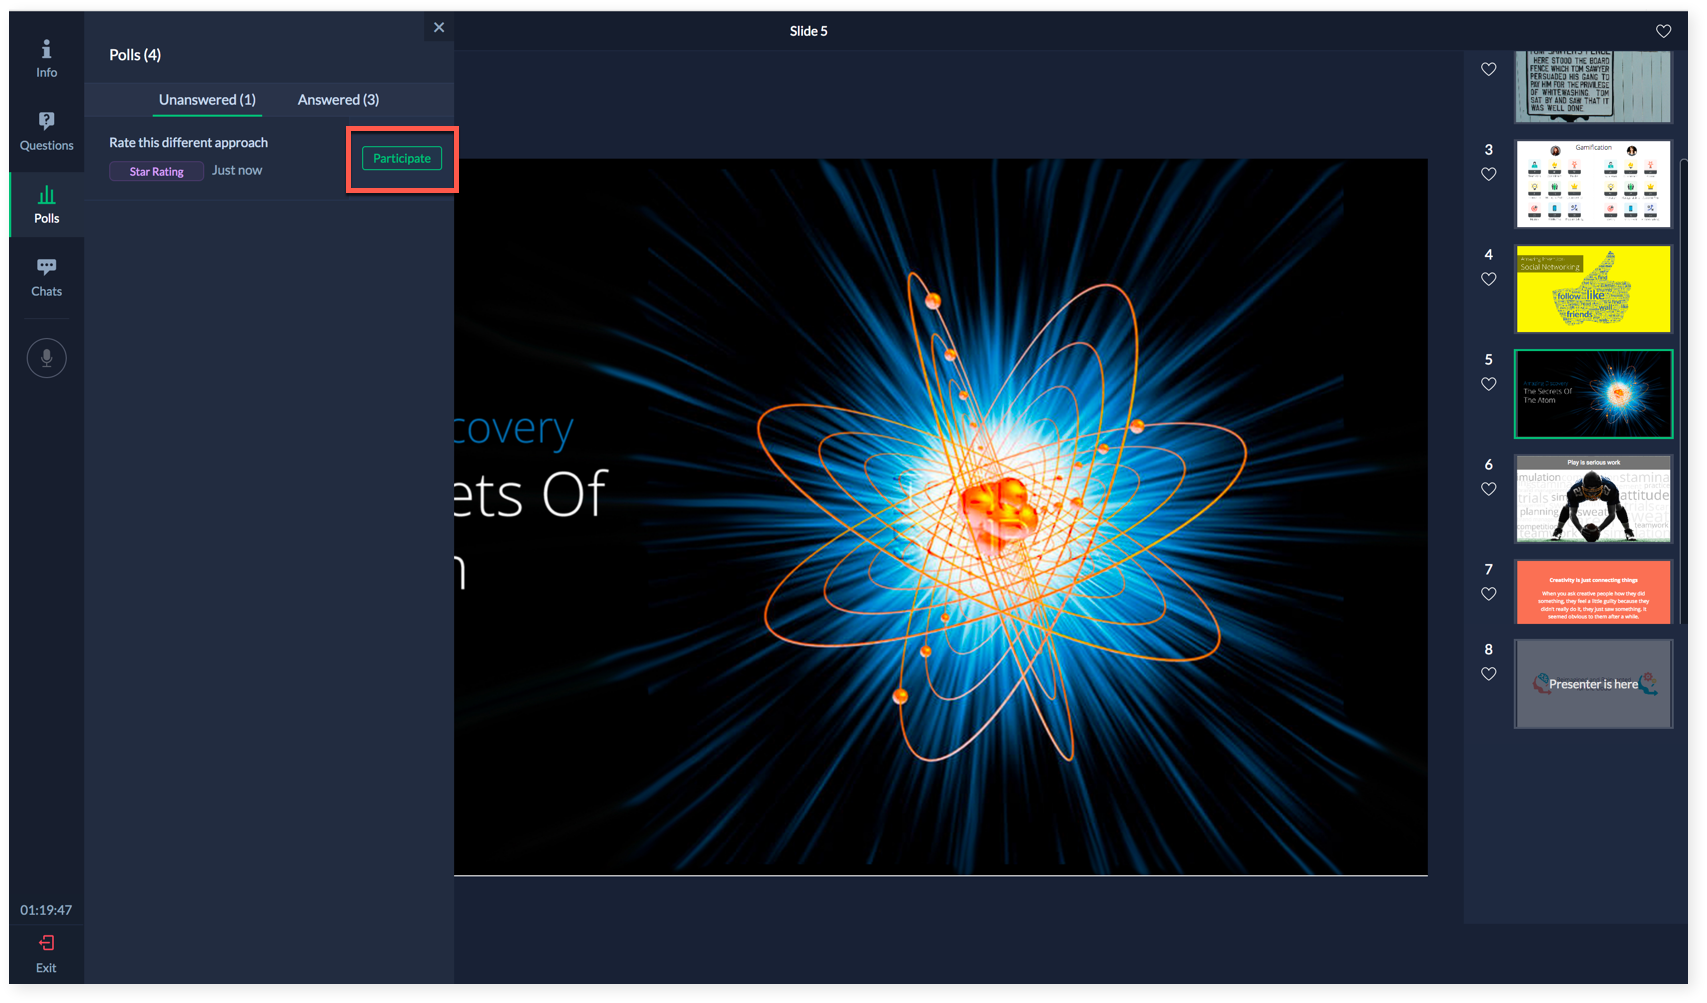
Answer polls
Evaluate attendees' knowledge during the session. Start a poll and ask your attendees to answer the questions. Attendees will see a poll pop up or a notification on the Poll tab. They can answer instantly or later by clicking on Participate to join a poll from the Polls tab. All polls answered by attendees will move from the Unanswered tab to the Answered tab.
If an attendee submits a reply, ShowTime will send them a pop-up stating "Poll submitted successfully."
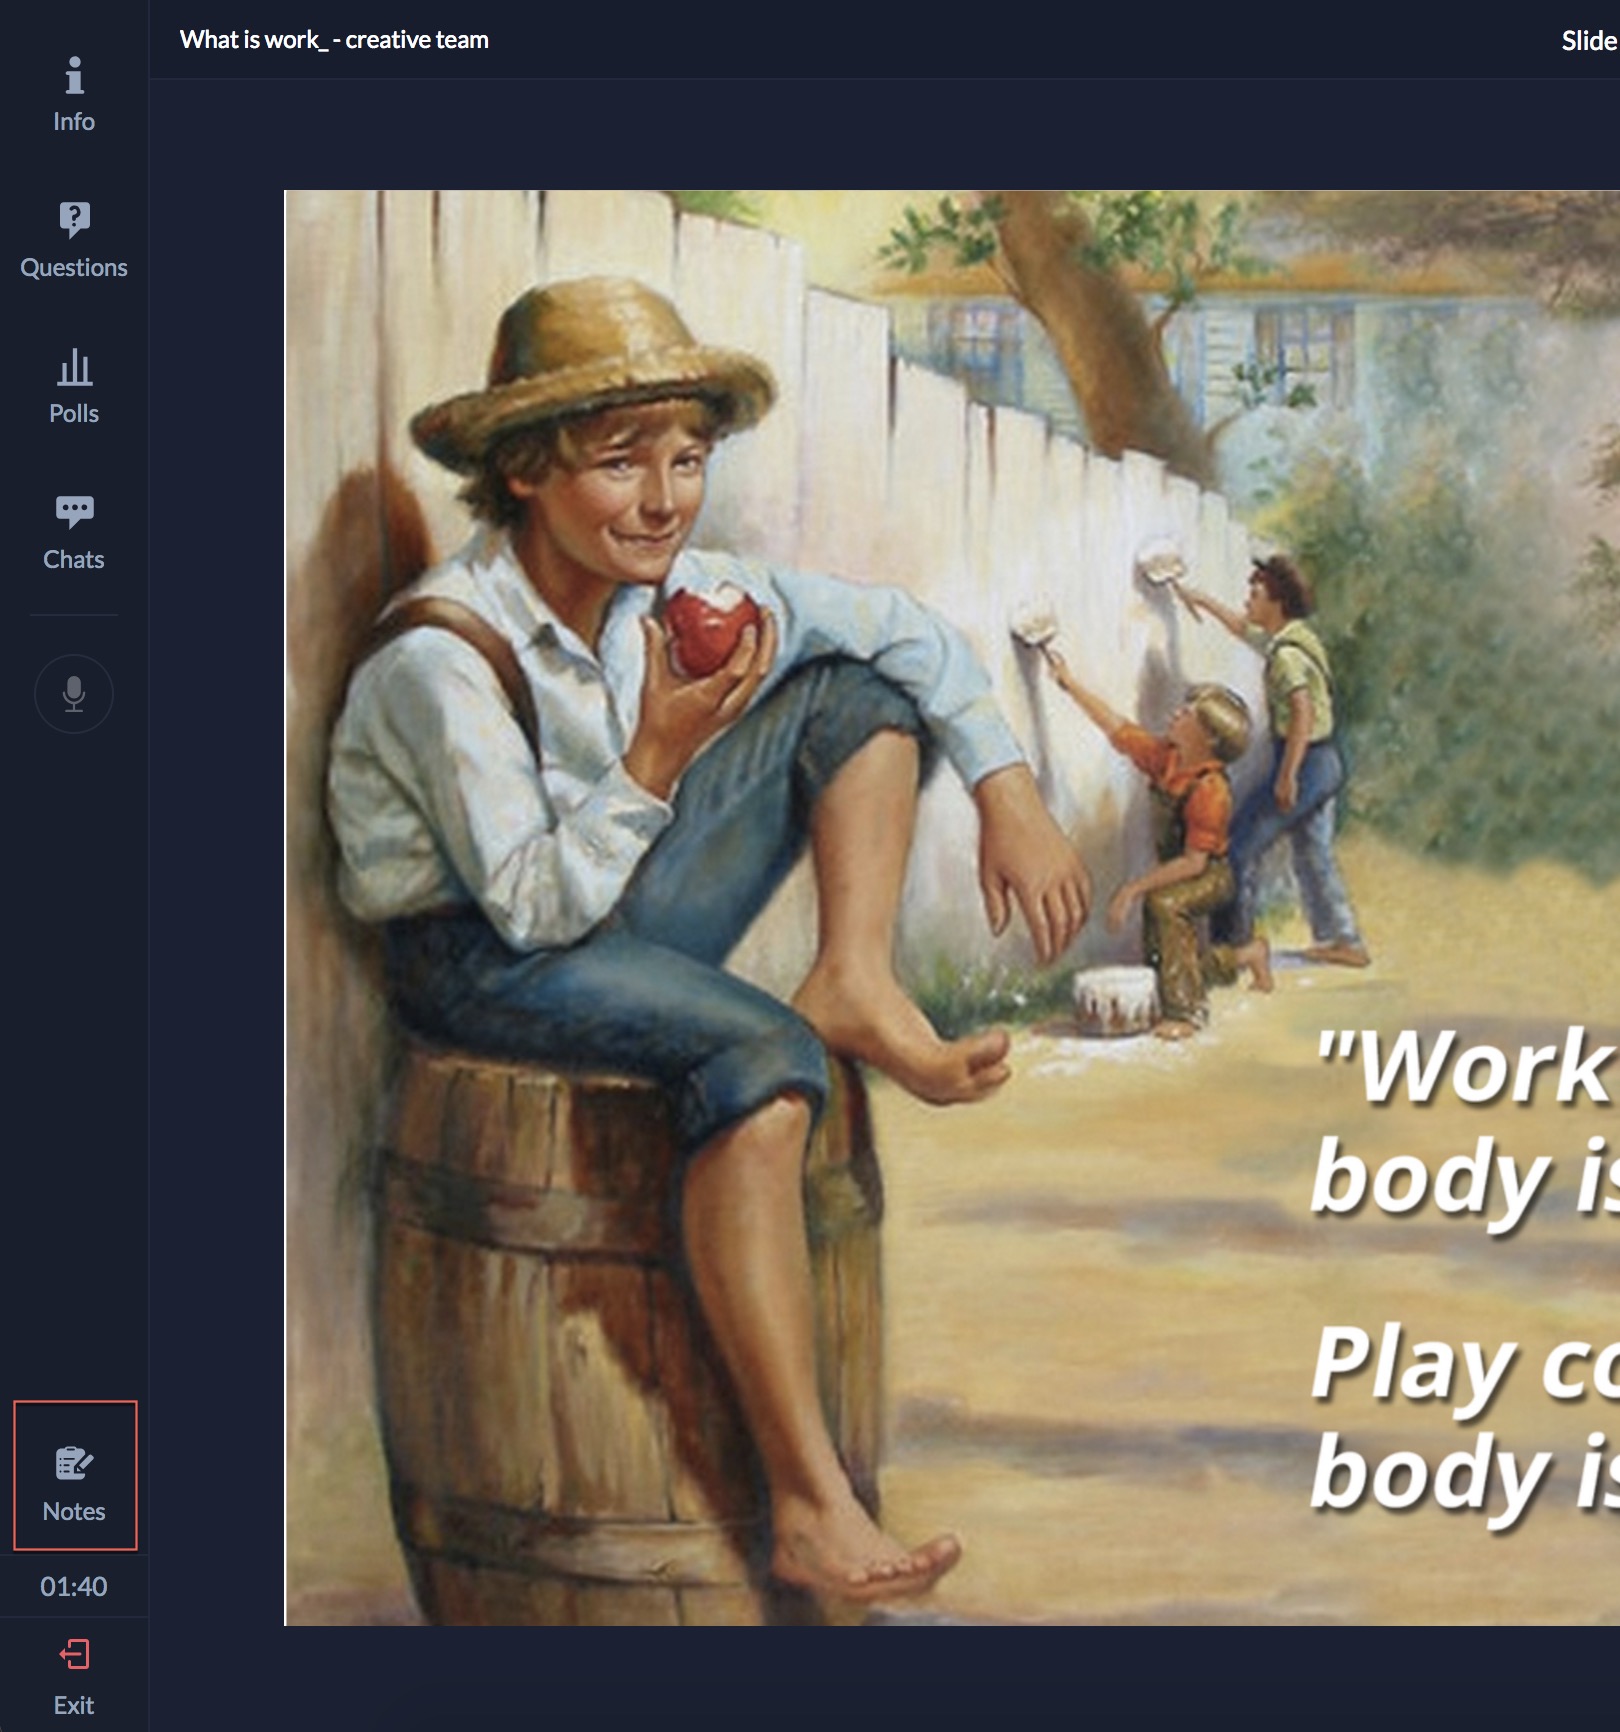
Take Notes
You can note down key ideas and important concepts shared during the session using the "Notes" feature. Click on Notes icon in the bottom left corner to begin taking notes.
Once you finish taking notes, click "Send to mail" to send the notes as a text file to your registered mail id.
Note: If you access the session without registering with an email ID, you will be able to take notes only after providing an email address to which the notes will be sent.
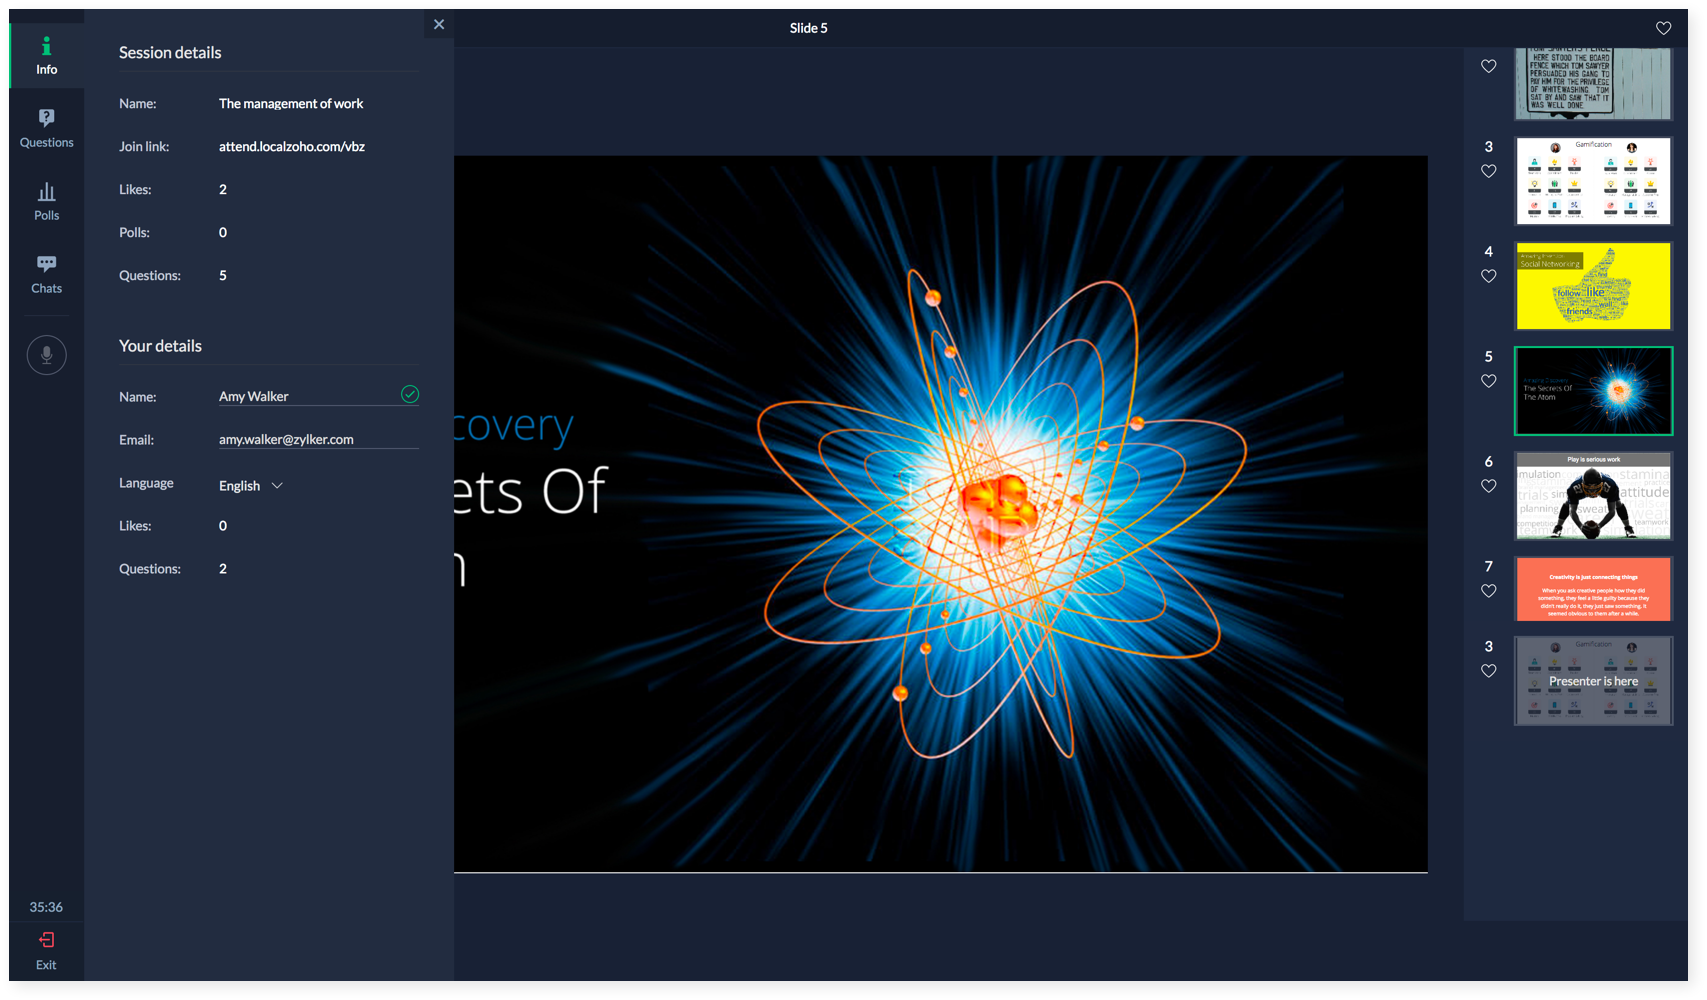
Session and user details
Your attendees can view details about an ongoing session and their own user information when they click the Info tab.
Session details:
- Name of the session
- Passkey
- Number of people attending the session
- Number of Likes given
- Number of polls answered
- Number of questions posed
- User details:
- Name
- Email
- Number of likes
- Number of questions
Provide rating and feedback
After you finish the session, attendees will see a Rating window. Ask them to rate the session (out of five stars) and provide feedback (collective response) about your performance. Once they're done, a customized thank you message will be sent to them.
Related Articles
Deliver a remote session using ShowTime Web
ShowTime Web allows you to broadcast your voice and video, screen share, showcase videos and present slideshows to attendees in different locations. By default, when you begin, ShowTime audio and video will be enabled. You can start a session either ...Deliver a face-to-face session using ShowTime Web
ShowTime Web offers a better way to deliver a face-to-face session to attendees who are in the same room with you and a remote session to attendees who are globally dispersed. It's typical to see a presenter tethered to their laptop in order to move ...Overview
Welcome to Zoho ShowTime! Do you deliver trainings often? Finding it difficult to keep your trainees engaged throughout the session? We've got you covered. Zoho ShowTime is a web-conferencing and an online virtual training tool that lets trainers ...What is the purpose of using a price list?
To understand price lists better, lets see an example: let us assume that you are providing a festive season markdown on all your products, you would have to change the price of each and every item manually. This will consume time and effort. As a ...Customize registration
Once you have created your session, the next step is managing your registrations. Registration allows attendees to tell you ahead of time that they will be participating. Enable registration Registration helps you plan your session by letting you ...